...Enter the pink ribbon bows....
I got this ribbon and the buttons from JoAnn Fabrics. I had Miss NoNo help pick out the ribbon colors and the buttons and then we went home and got started! We bought a lot so that we could make a bunch and get her excited about putting the ribbon bows (flowers) on all of her clothes, if we needed to!!

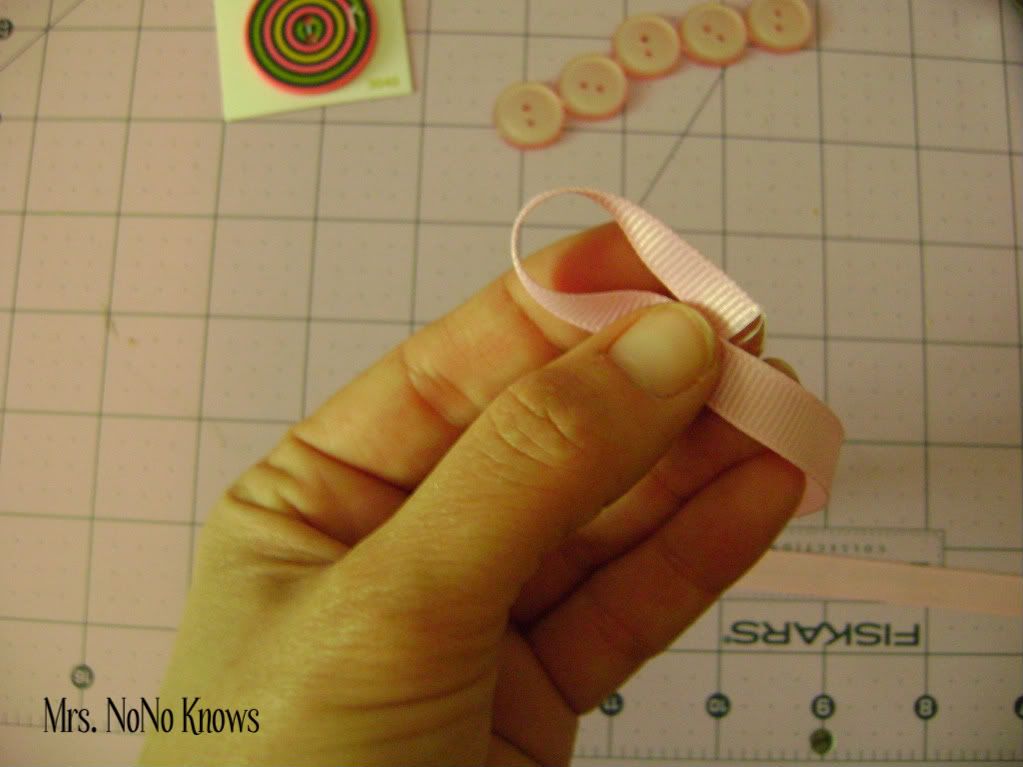
Make another loop on the other side - the same way as the first - take it out about one inch and then fold it back to join the 'center'.

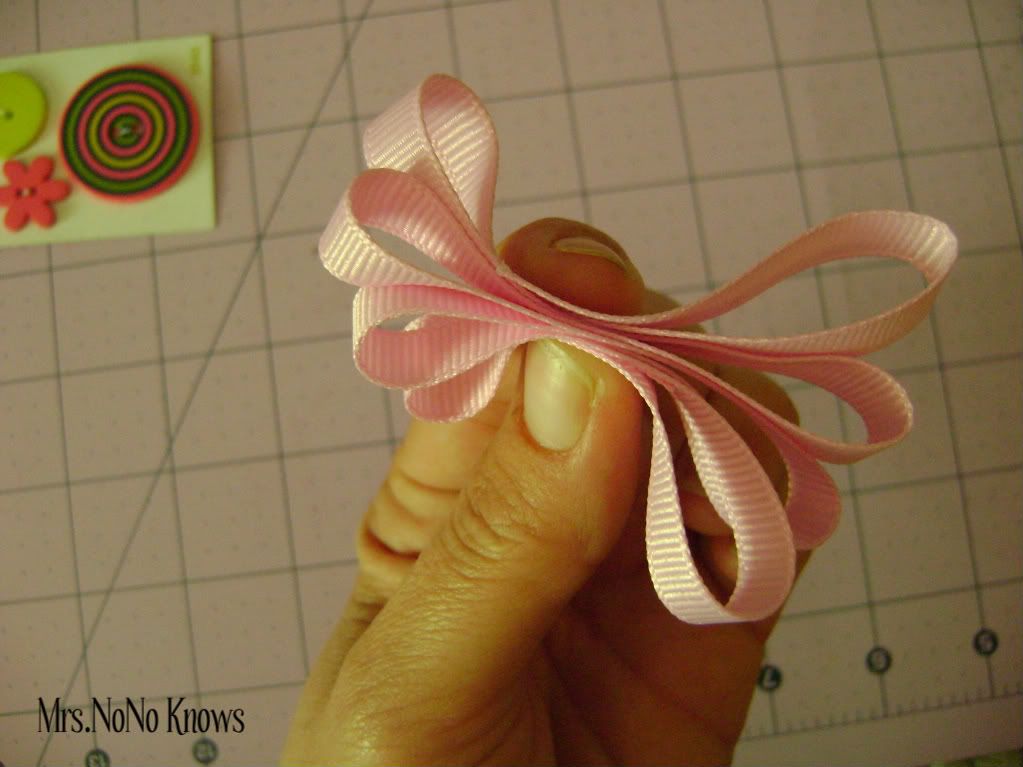
Continue creating loops, alternating sides, until you have the desired numbers of 'petals' for your flowers. I did four loops per side for eight loops total.

Pinch all the loops together and check the distance of each loop. The individual loops should all be about even.
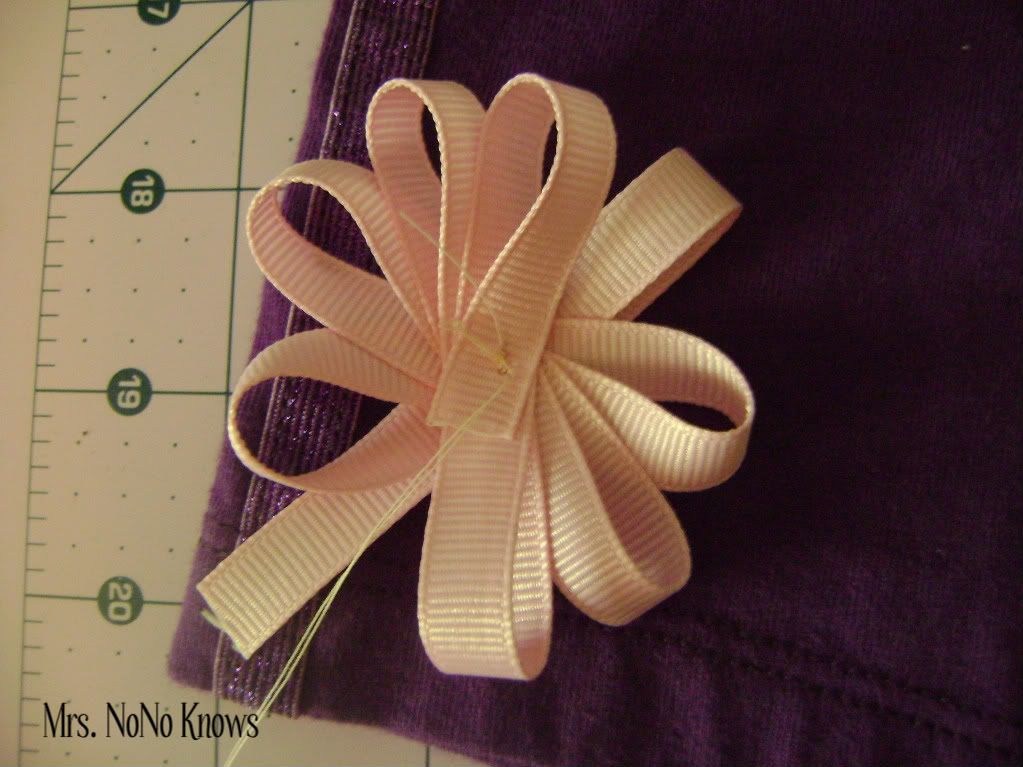
Insert a threaded needle through the 'center' of your flower.
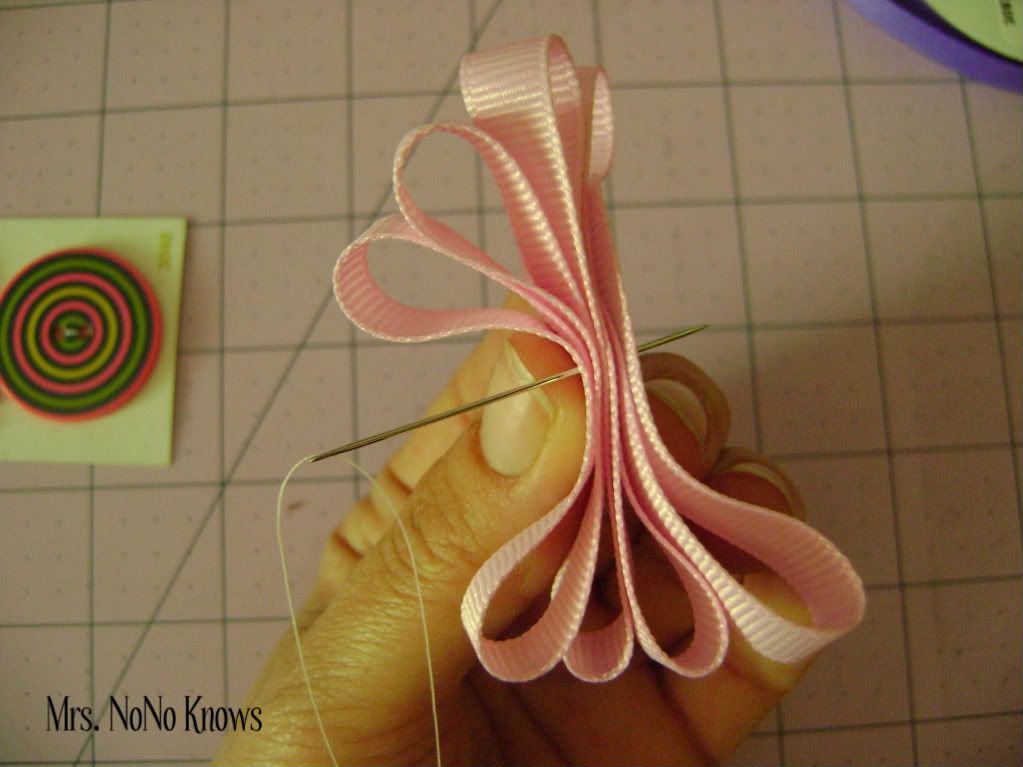
Before pushing the needle all the way through the first time, fan out the 'petals' until they are about equal distance from each other (once you start sewing, you won't be able to adjust the placement).
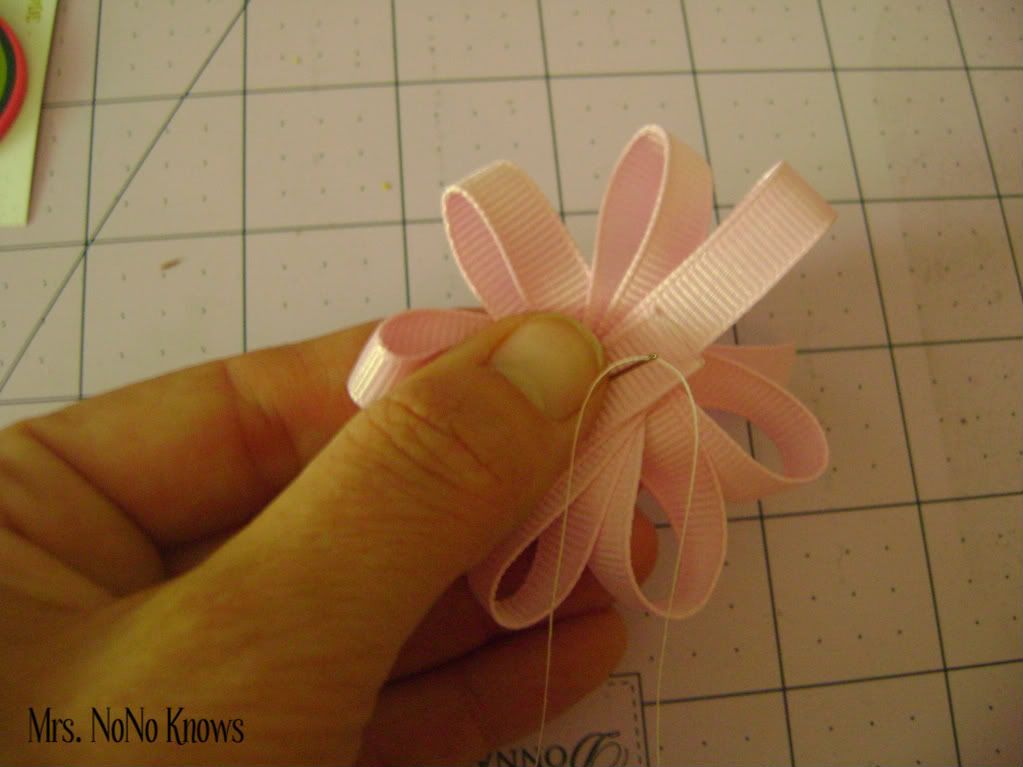

Place the flower on whatever garment you want to attach it to. Run your thread through the center of the flower and the garment a couple of times in each direction to secure it. At this point, you don't have to worry about how the thread looks because you will be covering up the stitches with a button in the next step.
This is how the flower looks sewn on to Miss NoNo's shorts.

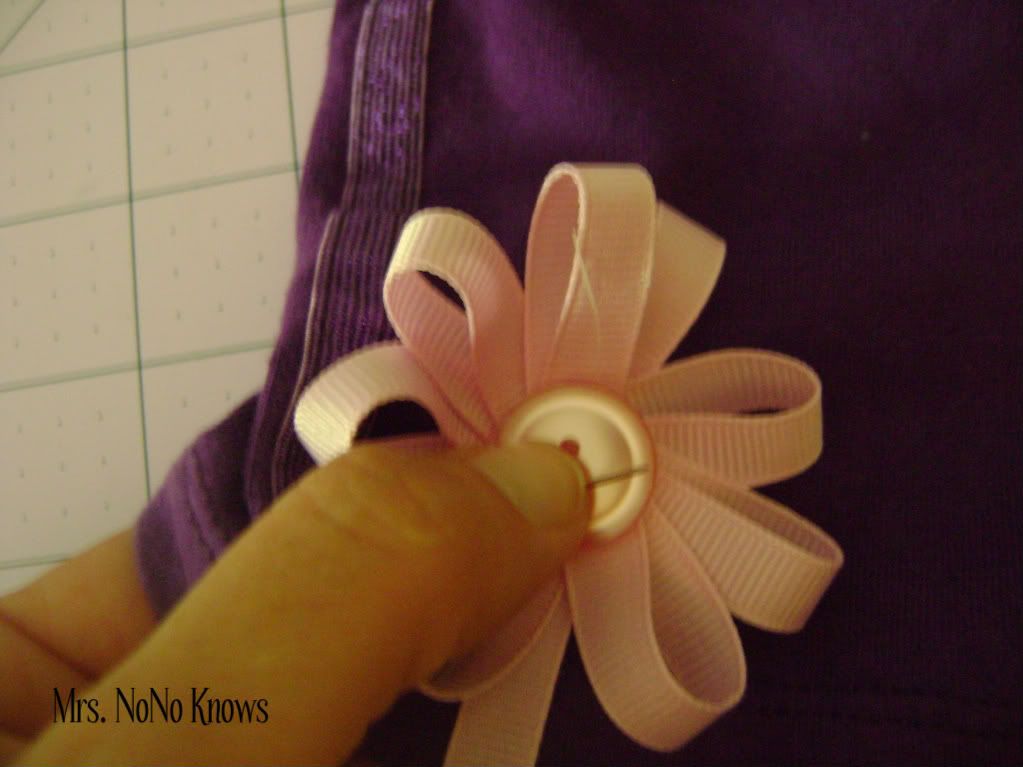
Place the button in the center of the flower and, using your threaded needle, run the thread through the button, through the flower, and through the garment. Do this a couple of times to secure the button to the flower.
This is the finished product. You could trim the extra piece, but I left it (as you can see!) to keep the flower full.
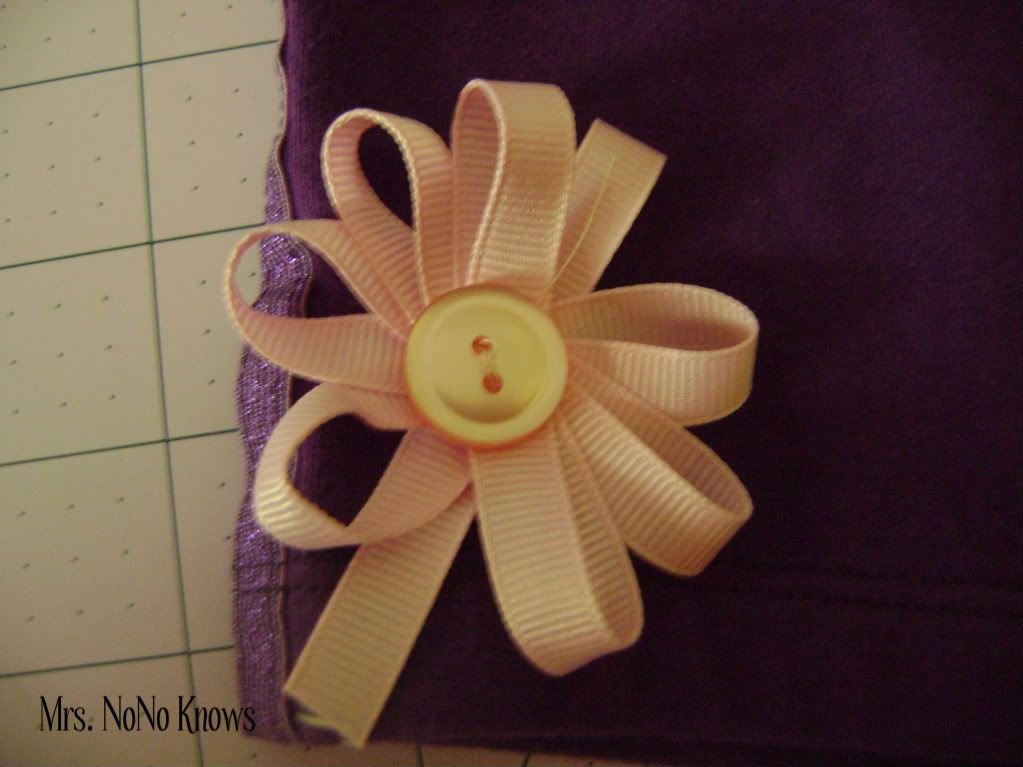
And this is how it looks from a distance. :)

To complete the outfit, I also added a flower to Miss NoNo's matching shirt.

This was a fast and easy project. It's amazing how quickly I was able to "upgrade" this outfit. And now, Miss NoNo WANTS to wear it! Ahhhh!
If there is a step or two that is not clear, let me know and I will attempt to re-explain it better!!
I got inspiration for this idea from Family Fun Magazine - it's a great resource for quick crafts that keep your babies happy and entertained!!
More later! :)
