Follow me for tips to live a richer, simpler life! My family lives "better" for less and enjoys our everyday life - and yours can too!


Showing posts with label make ahead. Show all posts

Monday, August 13, 2012

A Week of Menu Ideas - Enchiladas, Tofu, and Soup

We went to the Laguna Beach Sawdust Art Festival this weekend. If you haven't been and you are interested in arts and crafts of all kinds, this is definitely a place you would want to visit. It doesn't matter if you are into sewing, making your own jewelery, crafts, sculpture, ceramics, woodworking, glass working, painting, or upcycling - you can find inspiration (and stuff to buy!!) there. It's really amazing to see so much stuff like this in one place. It's like an upscale craft fair (on steroids).
I didn't buy anything this year - I usually buy one or two things - but, I did make - or "throw" - a ceramic bowl. It was so awesome and so cool. I've never gotten to do anything like that before.

But, now we are back to the week, and here's what I have planned for the week:

Monday
Black Bean and Sweet Potato Enchiladas
Sauteed Greens

Tuesday
Baked Ginger Orange Tofu
Couscous
Carrots and Sweet Peas with Tarragon

{Photo by Annabelle Breakey for Sunset Magazine}
Wednesday
Cold Zucchini and Basil Soup
Green Salads with Cucumbers
and Homemade Vinaigrette

Thursday
Garden Burgers
Cobb Salads or Fruit Salads

Friday
Baked Potatoes
with Chili (or Broccoli) and Cheese

Saturday
Dinner Out

Sunday
Ravioli / Pasta Dinner
Green Salad
Garlic Bread

My plan for this week is to cook everything (except the garden burgers and ravioli) on one day. This will help so that I don't have to heat up my kitchen every.single.day (it's too hot here and if I wait, then I know I just won't cook everyday because I don't want to get the kitchen going). With this plan, I can cook the potatoes, tofu, and enchiladas at the same time (I may have to add on five or ten minutes to the total cooking time, but if I get everything in right around the same time, I can cook three dinners at one time). Whew!! I will just put stuff in containers in the fridge and when I get home from work each night, I can either put stuff into the toaster oven while I make the sides or put dinner into the microwave if I need to. Also, with the enchiladas, we won't be able to finish all that I will make so I will be able to take some for lunch one day and freeze the rest for another week when I don't have a plan or don't feel like cooking. (:

Oh - if you haven't already, please check out my giveaway for a chance to win a complete digital scrapbooking system from My Memories!
What did you do this weekend?
More later! (:

Monday, August 29, 2011

Zucchini Noodles

We have been on vacation for the last week and a half!! We went to visit my in-laws in Western NY. Thankfully, we made it out of there and back to the west coast before Irene came barreling through and made it hard for us to leave the NY airport. Whew!
My little brother lives in NYC with his family, though, and they are all alright. Double whew! Hope you and yours are safe and sound, too!
Here are some pictures from our trip - Miss No-No had a lot of fun!!


In my never-ending (it seems) quest to find something to do with all of my zucchini (zukes), I made zucchini "noodles"!!!
They are so easy and so good and crunchy, I just couldn't believe that they came out so well!

Zucchini Noodles

Noodles:
2 medium sized zukes, spiralized or cut into noodle-like strips using a vegetable peeler

Sauce:
1-1/2 T olive oil
1 T Braggs Aminos (or 1/2 T soy sauce)
1-1/2 T agave
1/2 T apple cider vinegar
1/2 T fresh ginger (or 1/2 t. dried ground ginger)
1 - 2 cloves garlic, minced

Toppings:
1 - 2 T of sesame seeds (white or black)
1/2 T minced basil, mint, and/or cilantro

Pre-heat oven at lowest setting (my oven is 170F).
Spread "noodles" out on a cookie sheet spread with parchment paper (you want to spread the noodles out as much as possible). Put in oven for approximately 1-1/2 to 2 hours, until "noodles" start to dry out around the edges of the cookie sheet. Move "noodles" from the oven and lay out on paper towels for approximately 15 - 30 minutes (to remove any residual liquid).
Make the sauce by mixing all ingredients.
To serve later, leave the sauce and noodles in separate containers and refrigerate.
When ready to serve, pour sauce on noodles and incorporate so that the noodles are covered with sauce. Sprinkle sesame seeds and other toppings over the top and serve!

This recipe was slightly adapted from Ani Phyo's Raw Foods Cookbook.
I will be linking up at some of these cool parties!!

More later! :)


Sunday, August 14, 2011

Basil Pesto

I made a trip this weekend to the Vietnamese grocery store by my house.
This place is soooo different than walking into some place like Vons or Ralphs - - first of all, the store is HUGE - - I mean, unbelievably huge!! The fresh produce section is about twice the size of what you would find in a normal grocery store and there is just so much cool and unique stuff!! The freezer section is the same way, they have a WHOLE aisle that is just soy sauce - - all different kinds - - and they have a seafood section in the back that is all live crabs, lobster, and different kinds of fish.
There is also a jewelry store, a shoe store, an appliances store, a sushi ordering bar, a boba tea bar, a sandwich shop, a post office, an electronics store, a gift shop - - it's unreal. These little stores are more like huge booths on the periphery of the store, but they are permanent.
I went in to get some things to make Thai food at home (because I have been ordering it a lot the last couple of weeks and I figure that I could try to learn how to make it, mess it up a couple of times, buy everything again and still be spending about what I would pay to order it from a restaurant!!).

However, before I get started on trying to make that, there were a couple of other things, I couldn't help but pick up:

 
Basil - Can you believe all this basil was less than $1.50!!!!


Garlic - All of this was less than $2 and came pre-peeled for me!!!


In light of these great finds, I decided that it was high time I make some pesto (since it freezes easy, I can keep the taste of summer in my freezer for months when I wish the clouds or rain would go away!)

Quick Pesto Recipe

1 large bunch of basil, cleaned, removed from stems, and rough chopped
2 - 3 basil cloves, crushed
3/4 - 1 cup of walnuts or pine nuts (a couple of big handfuls), rough chop
1 Tbs nutritional yeast, optional
3 Tbs. cashews, optional
olive oil

Put basil, garlic, and walnuts (and nutritional yeast and cashews, if using) in a food processor. Start mixing and slowly add in olive oil in a thin stream until desired consistency is reached. Add salt and pepper if desired.

Notes:
  • The cashews and nutritional yeast (not baking yeast, nutritional yeast can be found in health food stores, Henrys, Whole Foods, or Sprouts) will give this sauce an added creaminess and means that you won't miss the cheese. You could use just cashews or just the yeast, if that's what you have on hand. Or omit both, and it's still great.
  • This sauce is great - I use it on sandwiches and tofu or thinned out (with water and a little more olive oil) on salads and cooked, grilled, or raw veggies or thinned out (with pasta water) to use on regular pasta or in pasta salads.
  • And because this recipe is made without cheese, it freezes great! So make a big batch, pour it into ice cube trays, let freeze, and then pop in a freezer bag to save for days when you want to taste the goodness of summer!!
  • Another reason that I LOVE this recipe is that it is FORGIVING!! If you don't have basil, sub in parsley (italian or curly) or even arugula or anything dark green and thin; if you don't have pine nuts, use walnuts or cashews, or even pecans or brazil nuts. It will change the flavor a little bit, but it will still taste good (as long as you like those things; ie - if you hate parsley, don't use that, but otherwise, you are good to go!).
More later! :)

Sunday, August 7, 2011

Clean Out the Fridge Soup

I love making soup! :)
Soup is easy, and forgiving. It can be served hot, warm, or even cold. I can eat it for dinner, for lunch the next day, or freeze it and serve it a week or two later for a quick dinner when I don't have time to make something.
This Clean Out the Fridge Soup is one of my favorites - I just saute some onions and garlic, add some broth, some spices, and whatever else I have on hand. It's different all the time, but the method is the same, and that makes it great (and easy) for me to serve something filling and healthy!

Clean Out the Fridge Soup

1/2 onion, diced
1 garlic clove, minced
Dried spices (I always use approx. 1/2 tsp of thyme and then I will add in some bay leaves (only 1 or 2), and then maybe another 1/2 - 1 teaspoon (total) of oregano, parsley, basil, or rosemary - sometimes, I just add in italian seasoning so that I get it all in one!)
diced veggies (whatever is on hand; for this soup, I used yellow squash and one zucchini, but this method will work with mushrooms, leeks, beets, potatoes, and can be adapted to fit just about any other veggie you have on hand)
1 can of diced tomatoes
4 cups veggie broth (homemade or store bought)
1 can of beans, drained and rinsed
2 - 3 cups of fresh spinach or 1 cup of (defrosted) frozen spinach)
3/4 cup of frozen peas (or edamame, broccoli, or corn)
fresh ground pepper and salt, to taste

In a stockpot or 4 qt pan, saute diced onion in olive oil on medium heat until translucent, approximately 8 - 10 minutes. Add in garlic and cook, stirring, for approximately 30 seconds. Drop in spices and stir to combine. Add in diced veggies and stir for another few minutes (coating with spices). Add in tomatoes, stir to combine. Add broth, bring to a boil and then simmer for approximately 10 - 15 minutes (you can simmer this for up to 30 minutes, depending on how much time you have). Turn heat back up to medium and add beans, let the mix get warm again (approximately 3 - 5 minutes), and then add in spinach and peas. Let the soup cook for about 5 - 10 minutes. Add black pepper and taste. Add salt to taste.
I usually serve this with garlic bread and a small salad on the side.

What's one of your favorite go to dishes?

Find me at some of these cool linky parties this week!
More later! :)

Tuesday, August 2, 2011

You are What You EAT

I was thinking today that if we are what we eat, then me and mine are now green (and skinny)...like zucchini. I have been talking A LOT about zukes lately (like here and here) because I have a ton of them. I have asked you guys what you make with them, how you cook them, and if you like them...and you have given me tons of ideas and then even more ideas. Lately, I have been making salads with julienned raw zucchini on top (like straws) and, amazingly, my family is eating them up. Something I realized is that thinly sliced raw zucchini doesn't actually have much taste and it just soaks up what you put on it (like salad dressing!).
So, with zucchini on my mind still (you should see my crisper drawer - - it's really about 1/2 full of just zucchini right now), I have decided not to kill you with *another* zucchini filled set of menus for the week....but, as you may guess, we WILL be having salads every night! hahhahahaa!

I first mentioned zucchini boats in a previous post. But, I thought I would do a step by step on how to make them. They really are fast (with a little prep), easy, and good for you. And, I think if you have a picky eater, adding a little faux sail on top (toothpicks, tape, construction paper, and markers), you could convince any little one to eat them up....or at least play with them - and maybe some would get on their fingers...and into their mouth!!! Well, you can hope, right?

Zucchini Boats

3 - 4 medium sized zucchinis, sliced in half long-ways
1/2 T. olive oil
1 clove of minced or shredded garlic
1/2 onion, diced
1/2 large carrot, shredded
1/2 cup ground round (or equivalent)
1/4 cup bread crumbs
egg replacer equivalent to one egg (optional)
grated vegan mozzarella (optional)
spices (dried oregano, basil, parsley)
salt
pepper

Preheat oven to 400F. Take raw zucchini and slice long-ways. Scoop out inside of zucchini, leaving approx 1/4 - 1/2" around the skin (to serve as the "boat"; I used a metal 1/4 tsp that has a shape like a melon baller).


After removing zucchini pulp, place zucchini cut side up on a baking sheet. Spray zucchini with olive oil spray or other cooking spray. Place in oven and cook for approximately 15 minutes or until starting to bubble slightly and/or turn light brown. Remove from oven.


While zucchini boats are cooking, chop or mash zucchini pulp. Saute diced onions for a minute or two and then add shredded carrots in a skillet on the stove top with olive oil until translucent (approximately 7 minutes). Add in garlic and let cook for approximately 30 seconds. Top with zucchini pulp and stir to combine. Add in spices and continue to cook for 3 - 4 minutes. Add in ground round and cook for another 5 minutes (tasting until the mixture is cooked to taste).


(If using the egg replacer, let zucchini mixture cool slightly and mix in egg replacer, a little bit at a time, to help hold everything together. This is not necessary, but will help keep the mixture together a bit better).
Sprinkle mixture with breadcrumbs (to help absorb some moisture) and stir in, adding more when needed. Add enough that the mixture dries out, but be careful not to over-add bread crumbs.
Pile zucchini, onion, and ground round mixture into zucchini boats, place filled zucchini back on cooking sheet and return to the oven for approximately 10 minutes. Pull out from oven, add on cheese, if using, and continue to cook for another 5 minutes or until the cheese is starting to melt.

Remove from oven and let cool slightly before serving. I usually serve this as a main dish with some rice or couscous on the side and another vegetable or a small salad, but it could also serve as a nice side for a more substantial meal. To make these ahead, you can cook the zucchini boats and the zucchini pulp mixture ahead of time (I usually do mine 1 - 2 days ahead), store them in separate containers in the fridge, and then compile and cook in the oven when you are getting ready for dinner. It's an easy way to put dinner on the table in 15 minutes!


(For some reason unknown, I didn't take a picture of the final "product"; however, I DID have it for lunch the next day, so I can tell you it's great....I guess I was too hungry forgot to take the picture.) Since I have since found said picture, I included it above!!! :)

What's for dinner at your house tonight?

More later! :)

Tuesday, April 26, 2011

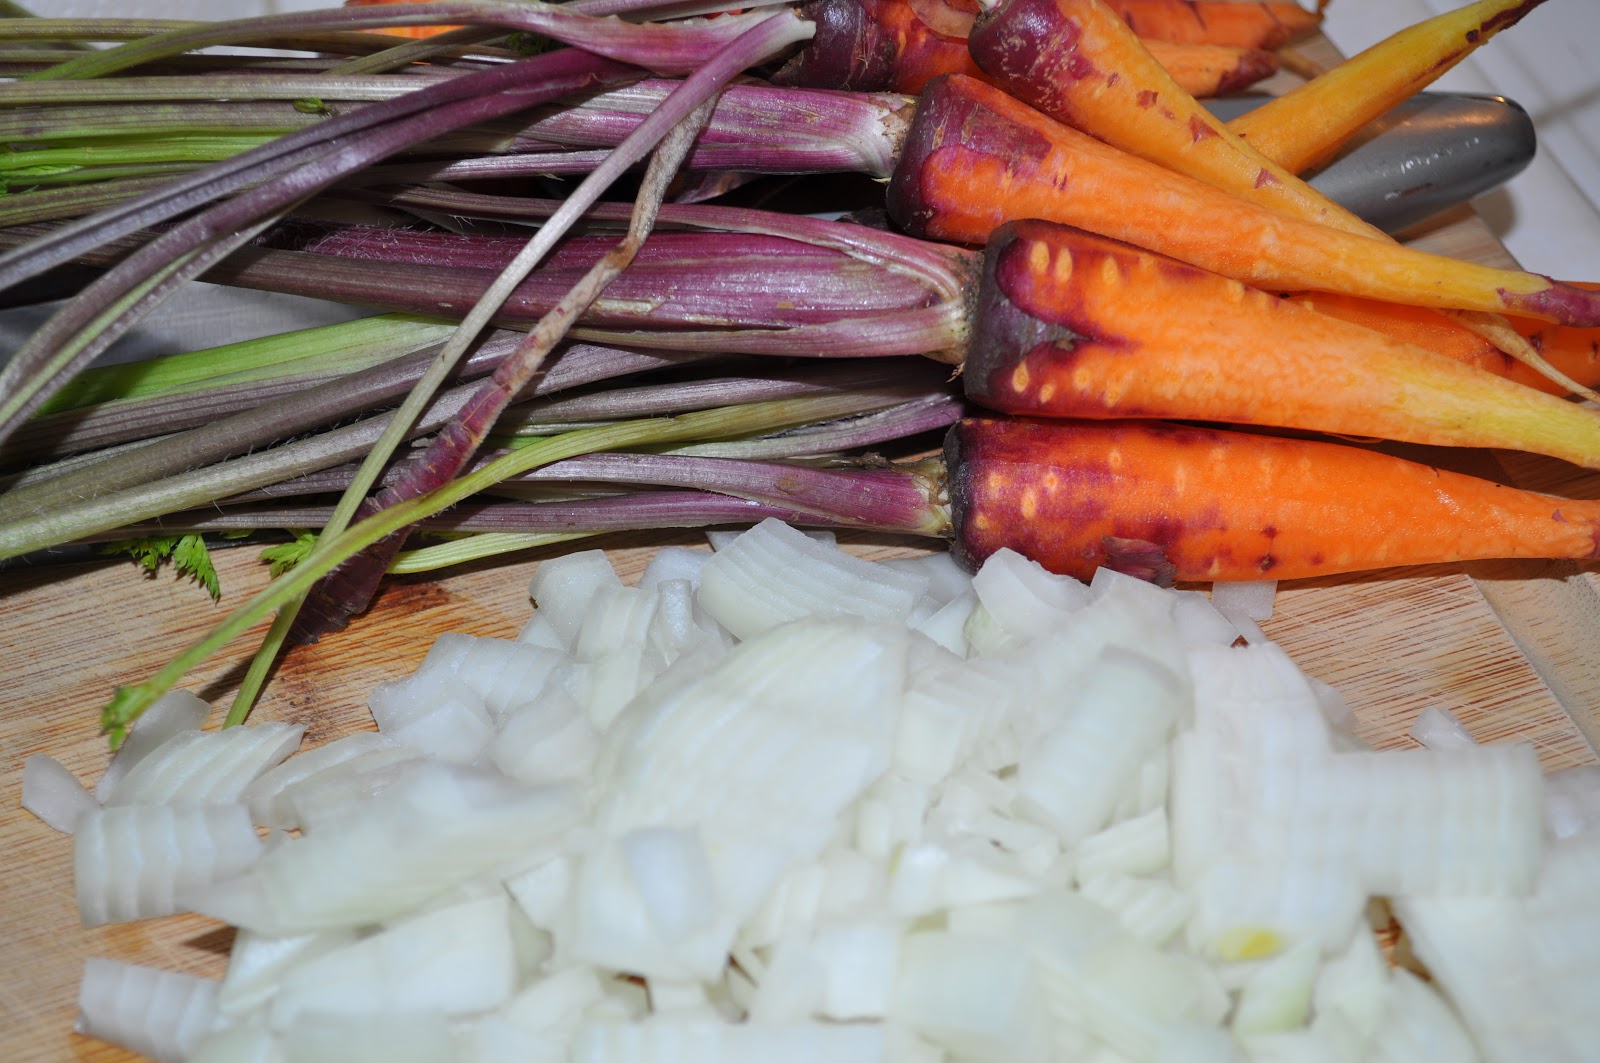
Carrot and Red Pepper Soup

I feel rejuvenated! I just caught up with Desperate Housewives on my smart phone! hahahaha! Quiet time for me and I don't need to steal the living room TV! Mr. No-No loves it and so do I. :)

For those of you that know me, you know I LOVE, LOVE, LOVE my soups. This one is quick and easy and ssssooooo good for you. Bonus: it's vegan (so it's much healthier than most soups of this style) and it's creamy (so it satisfies that desire to have a thick, rich soup).
I grabbed this recipe from All You Magazine and I am pleased to say, I didn't modify it at all. Kudos to All You for having vegan recipes in their mag!

All You's Carrot and Red Pepper Cream Soup
1 onion, diced
1 bunch of carrots, peeled and thinly sliced
2 cups vegetarian broth
2 (jarred) roasted red peppers, diced
2 cups of soymilk (or other plant based milk)
2 tsp. (each) balsamic vinegar and lemon juice
1/4 tsp. pepper
1/2 tsp. salt


Saute diced onion and sliced carrots in a pan with 1/8 cup of water (over medium heat) for approx. 5 minutes; Add broth and bring to a boil; Cover and simmer until carrots are fork-tender (approx. 10 - 15 minutes);

Remove from heat; Add bell peppers;


Mix in blender (covered with a towel, do in two batches) or use an immersion blender; Continue blending and add in soymilk; Place pan back over low heat and add remaining ingredients; Heat until warm (approx. 5 minutes).


I served this with toast triangles. It was creamy and delicious! It's also good the next day (I know because I had it for lunch) - make a big batch and have "planned leftovers".

What are your favorite kinds of soup?
Do you have a quick soup that is your standby? Or do you have a soup that you especially make so that you can have your planned leftovers?

Thanks to everyone for commenting on my previous recipe, Microwave-able Beets. Seems like a lot more people than I realized do not like beets, do not buy beets, and do not cook with beets - including: Karen from Mommy's Moments and Crystal from Crystal Jigsaw. However, I was honestly surprised by how few people admitting to LIKING beets - including: Boobies from Boobies, Babies, & A Blog.. and Jan from Jewelry4Change.
I know, the color puts some people off...

Come and find me partying here.
More later! :)